
Easy IKEA Dresser Hack
March 3, 2022


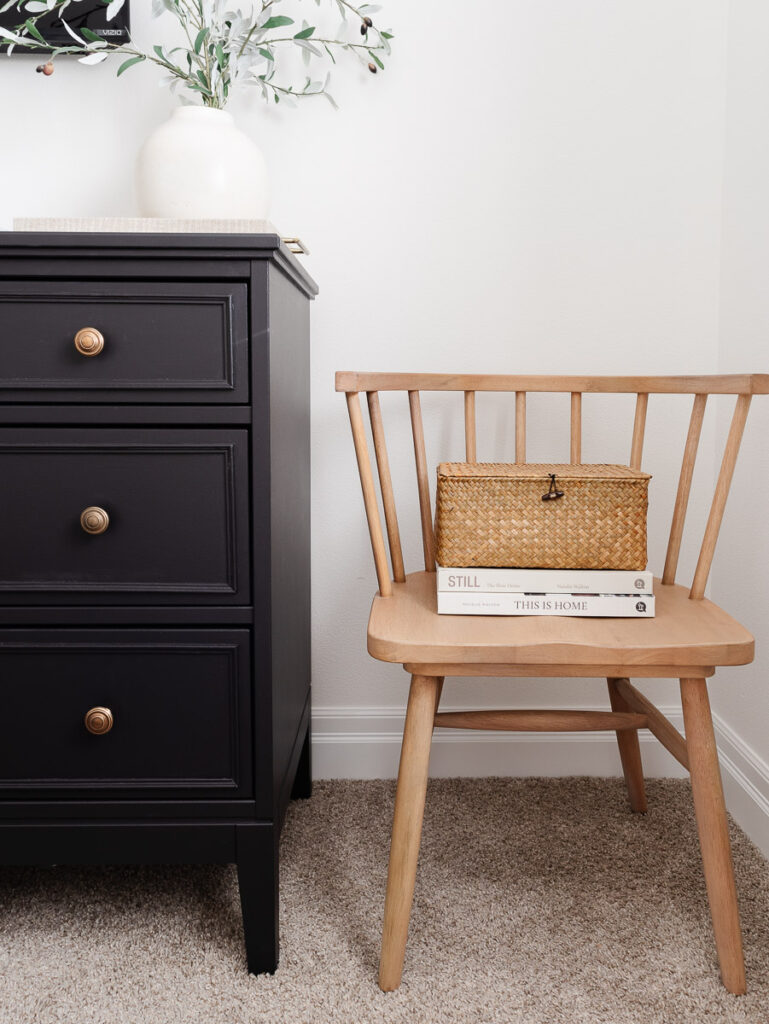
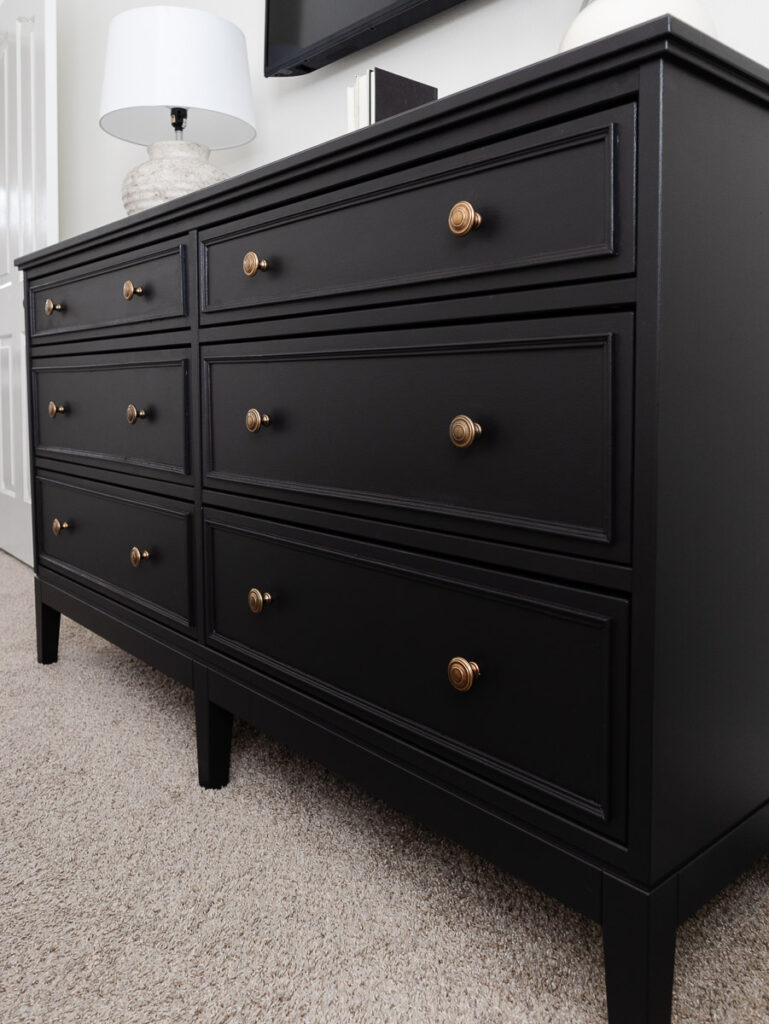
This IKEA dresser hack is so easy and perfect for anyone to try! I was looking for a specific type of dresser, but I couldn’t find one within budget. That’s when I decided I would hack an IKEA dresser. It’s amazing how a little decorative moulding, paint and new hardware completely transformed this piece!
Here are the easy steps I took to give this dresser a makeover (scroll to the bottom for a list of materials):
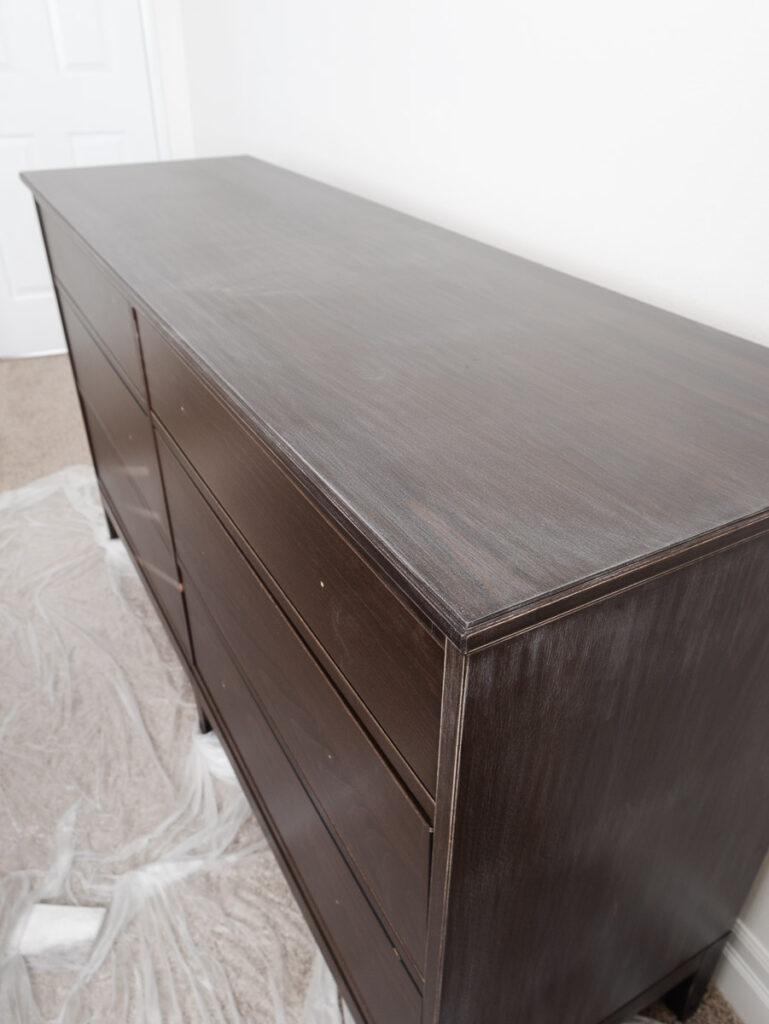
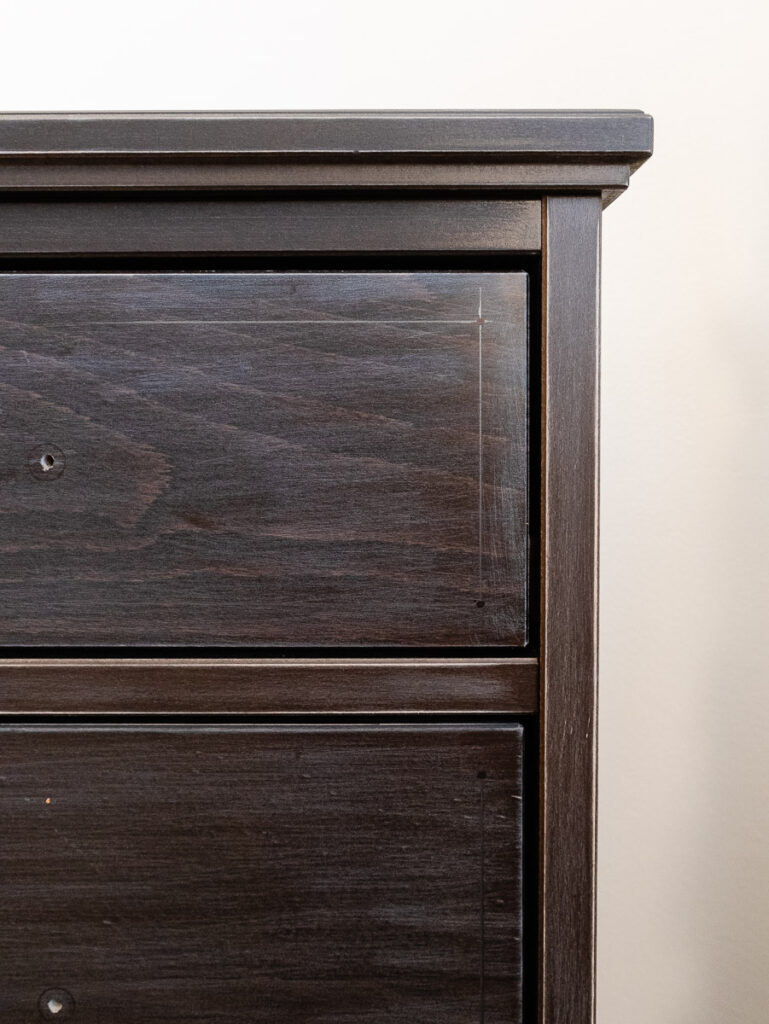
- I started by removing the hardware and sanding the entire dresser with 220 grit sanding paper.
I’ve found that when painting laminate furniture, like IKEA pieces, you don’t need to completely sand it down. What’s worked best for me is to sand just enough to roughen it up so the primer & paint will stick!
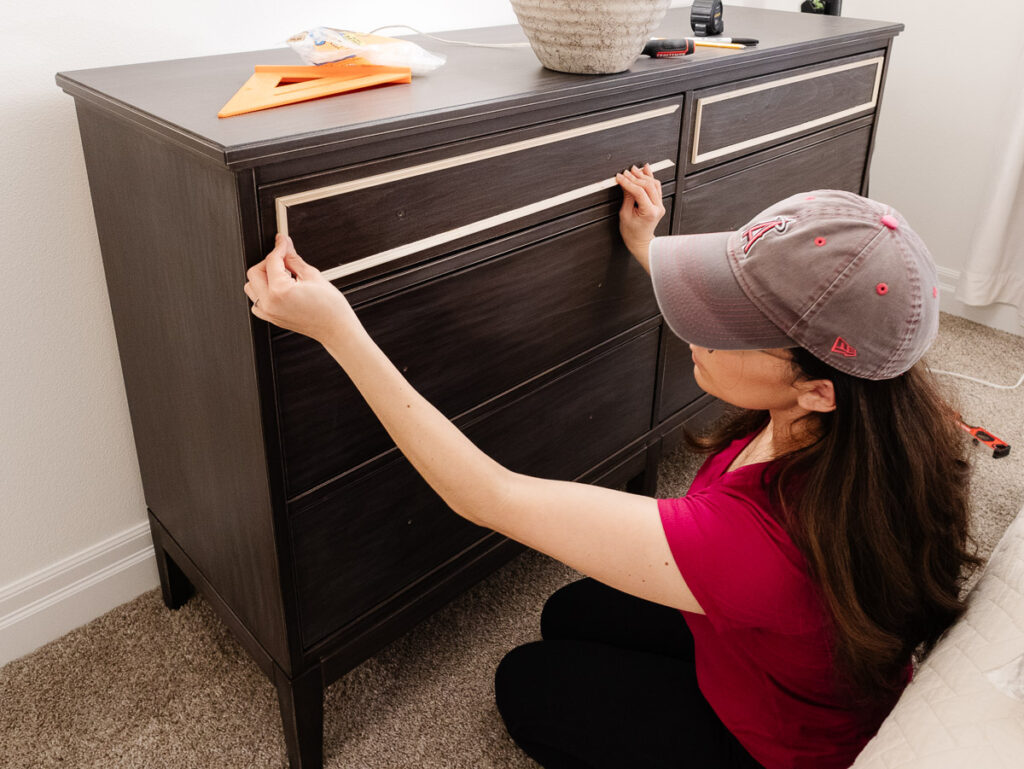
- Next, I cut the decorative moulding using a miter box saw.
I used unfinished chair rail to trim out the drawer fronts. I purchased 8’ sticks from Lowe’s, which were relatively inexpensive. I measured 3/4” in from all sides of the drawer and used a speed square to draw straight lines to use as a guide when attaching the trim. For reference, I used this chair rail trim from Lowe’s. It’s 13/32” x 8’.
- I used Gorilla Glue hot glue sticks to attach the trim.
I used a hot glue gun and Gorilla hot glue sticks to attach the trim. I followed the lines I drew, which made this part simple! I’ve used Gorilla hot glue in the past and it holds up well.
- After attaching the trim, I caulked all the way around it.
I almost skipped this step, but I’m so glad I didn’t! Caulking around the trim helps fill in any gaps, which will make a huge difference when painting. This also helps the trim look like it’s always been part of the dresser.
- Time to Prime!
When it comes to painting laminate furniture, it can take some trial and error to figure out what works best. I’ve had some practice with other IKEA pieces and I’ve found this primer to be the best. You can purchase it from Amazon if you can’t find it at your local hardware store. What you apply it with is equally as important, so I used paint rollers that are smooth and meant for painting cabinets. I used these exact ones.
- Next up is painting.
My goal for this dresser was to create a timeless look, so of course I had to go with black paint. I used Black Magic by Sherwin Williams in an eggshell finish. I was trying to achieve a matte look while making sure the dresser is easy to clean. I decided against a flat finish because over time, the paint would scuff easily. I applied the paint using the same paint rollers I did for the primer.
- New Hardware!
I chose gold hardware for this piece to give it that timeless feel. Have fun with this part! There are so many options for hardware. I kept it simple with these knobs from Lowe’s.
Let me know if you try this DIY. I’d love to see photos of your project! You can also read more about this project over on Apartment Therapy!
List of Materials:
- Dresser from IKEA. I went with this one, but if you can get this one shipped to your area, it would also be a great option!
- 220 grit sanding paper
- 8ft sticks of this chair rail moulding (13/32”) – You’ll need 6 of these
- Miter Box Saw – This is an easy way to cut the trim if you don’t have a miter saw.
- Speed Square
- Gorilla Hot Glue Sticks
- Smooth Paint Rollers – I used 4” paint rollers
- Paint Brush
- Zinsser Primer
- 1 Tube of Caulk
- Black Magic Paint by Sherwin Williams
- Gold Hardware

Leave a Reply
For more of my latest projects, follow along on Instagram & TikTok at @jessicabelteauhome.
© jessica belteau home 2022 | site credit: tonic | privacy policy/disclosure
Intentional Design for a Home you Love
orange county, ca
jessica belteau home


Hello Jessica,
Your Ikea hack is Fantastic! 🤗-I also desperately need to compliment you on how well you explained everything.
I have had a growing interest in doing over furniture after seeing such fantastic jobs others do with this on Pinterest-but “my pressure goes up 😂” trying to get through all the chatty explanations. Your directions are friendly, personable, casual, and straight to the point!
I have appreciated and enjoyed what you have to offer, and was surprised to learn that this may not be as hard to get through as beautiful as the finished project looks!
I am thoroughly impressed and thankful to learn what you have shared!
Hi Leslie – I’m so happy that this post was helpful! I appreciate your kind words. I’m excited for you to makeover first furniture piece! Thanks for stopping by 🙂 – Jessica
Hi! Where did you get your gold hardware from?
Hi Veronica – I found them at my local Lowes!
Hi Jessica,
Interested in knowing how this has held up? Did the paint chip at all?
Amazing hack :)!
Hi Emanjot – Thanks for your comment! Overall, it held up really well! One of the things I did was to wait until each coat of primer/paint was completely dry before applying the next coat, which I think made a big difference.